Windows Admin Center in the Azure portal - Under the hood
@20aman Feb 28, 2022In the previous post, we looked at how to set up the Windows Admin Center. In this post, we will take a look at what the setup performed under the hood.
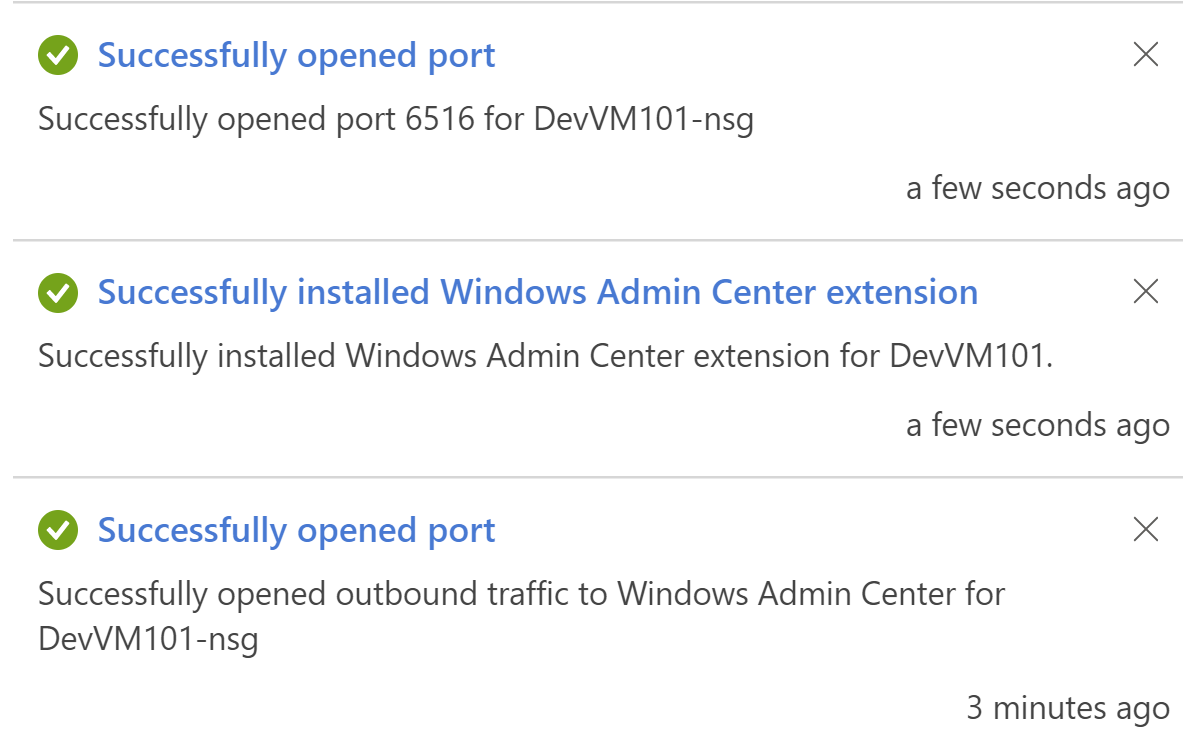
There are various actions that are performed when installing the Windows Admin Center in the Azure portal. The primary actions are:
- Updating the NSG (Network Security Group) for the VM to open inbound and outbound traffic
- Installation of the relevant extension
Let's look at these in detail.
Extension Added
The setup installs the extension for the Admin Center as shown below. The name of the extension is "AdminCenter and the type of the extension is "Microsoft.AdminCenter.AdminCenter". Make sure that the status is set to "Provisioning succeeded". If not, then you won't be able to connect to the Windows Admin Center.

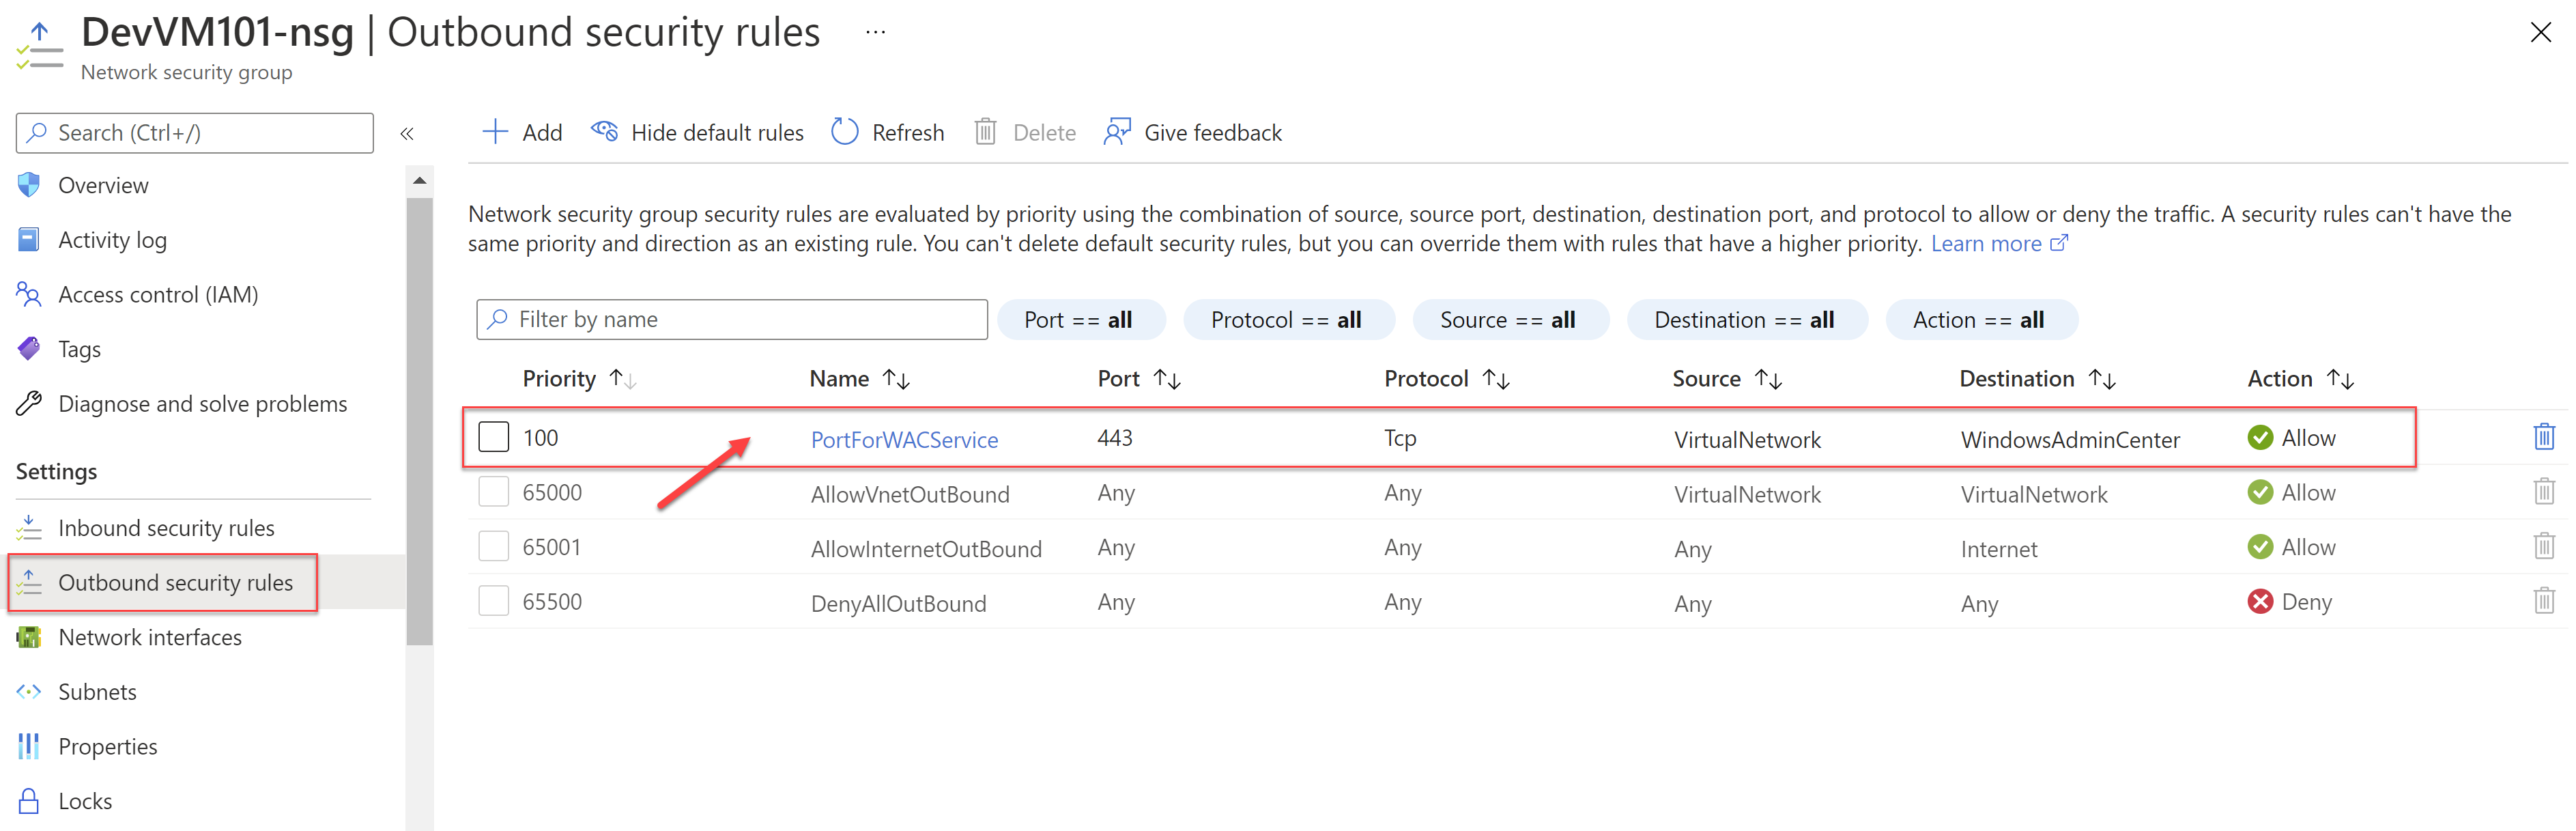
Outbound rule added in the NSG
Next, navigate to the NSG of the VM and look at the outbound rules. You will find that the setup added an outbound rule allowing the TCP traffic on port 443 i.e. HTTPS to the Service Tag for Windows Admin Center. The priority is set to the smallest i.e. 100 so that this rule will be evaluated first.
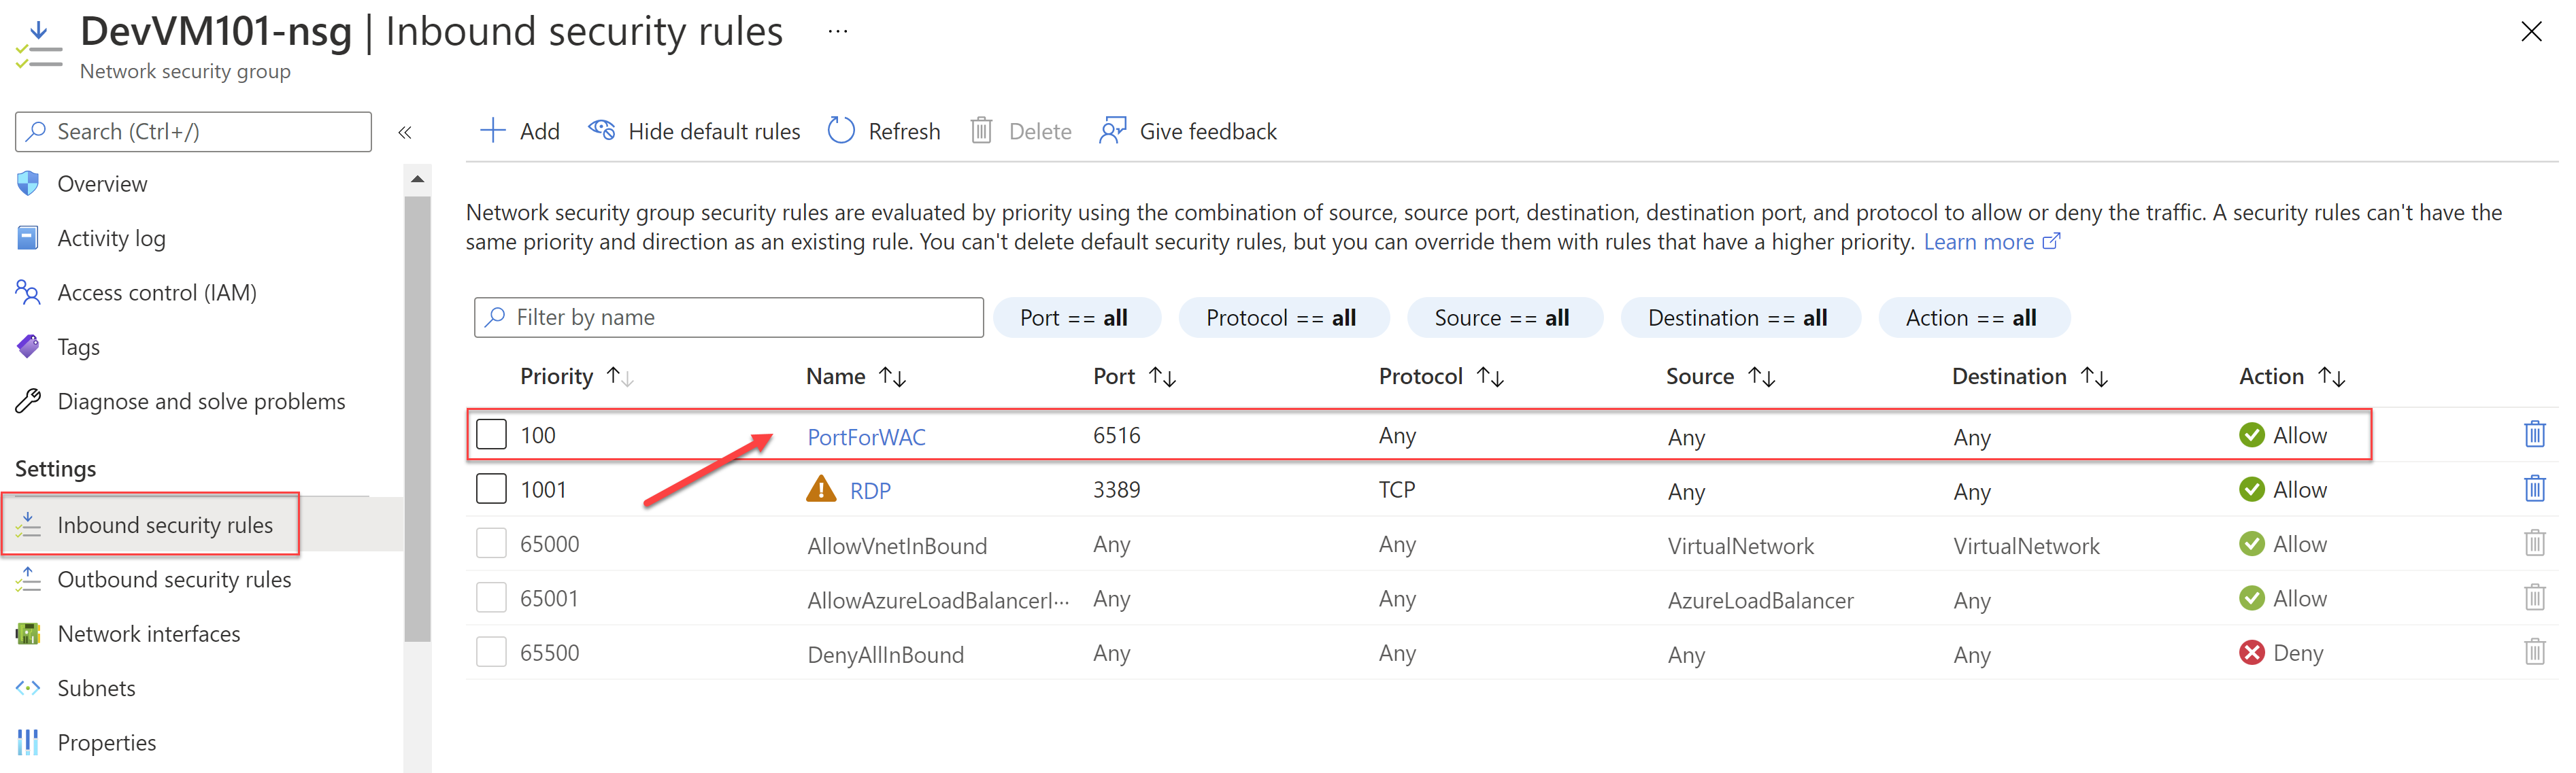
Inbound rule added in the NSG
Next, navigate to the NSG of the VM and look at the inbound rules. If you selected, the setup opened the management port e.g. 6516 for Windows Admin Center connectivity to the VM for any protocol, any source, and any destination. The priority is set to the smallest i.e. 100 so that this rule will be evaluated first.
NOTE: This is only good for testing. In a production scenario, you should either restrict this rule to a particular IP address or make sure you have connectivity to the virtual network where the VM is deployed.
Now that we know how it works, in the next post, we will start working with the Windows Admin Center to manage our servers.