Azure for AWS professionals - Batch Services - Azure - 1 Creating Batch account
@20aman Jun 20, 2019Note that this post is a part of the series. You can view all posts in this series here: Azure for AWS professionals - Index
To consume the Azure Batch service, you need a Batch account.
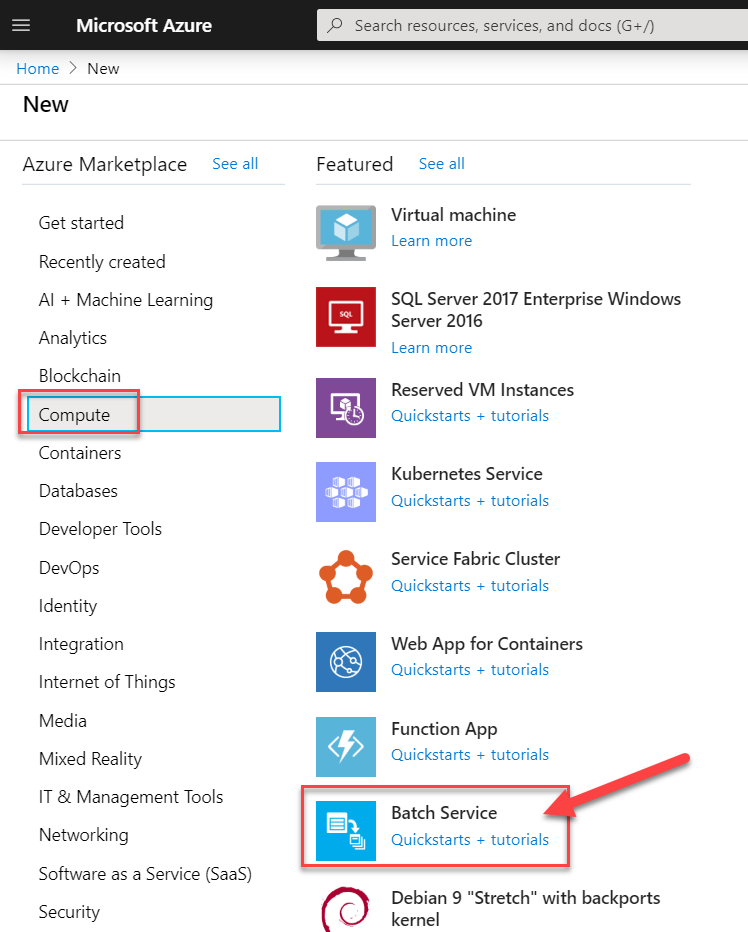
To create a Batch account navigate to Create a new service (from the 3 lines on the top left corner), then in the menu under the Compute category, find the "Batch Services" option.
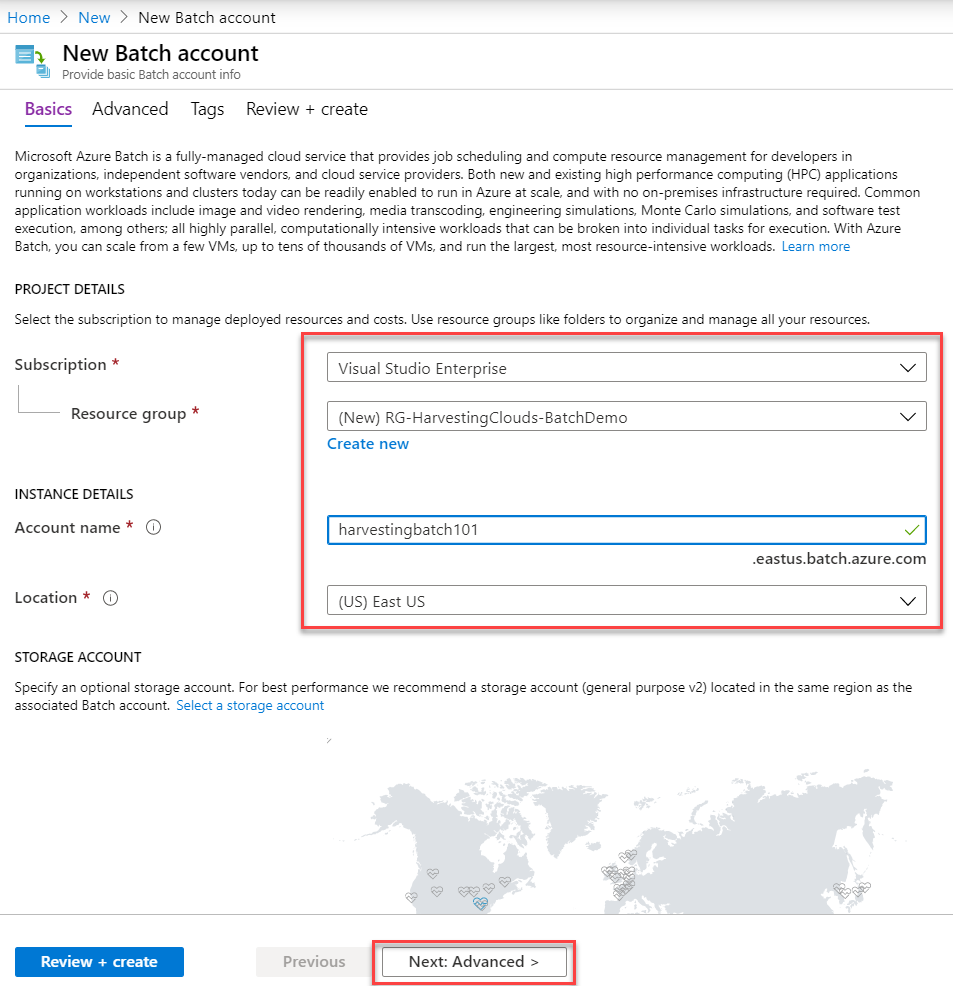
Just like any other resource, you provide a Subscription and a Resource Group. You also provide a name for the account. This name should only contain lowercase letters and should be unique in Azure's DNS space. This is used to uniquely identify your Batch account. You also select the location for your Batch service account.
Next, you have advanced settings. Here you select the Pool allocation mode. You have a Batch Service or User subscription as two options. This setting specifies whether to provision compute node pools in a subscription managed by the Batch service, or in the subscription in which you are creating the new Batch account. In most cases, this should be set to default i.e. managed by Batch service.
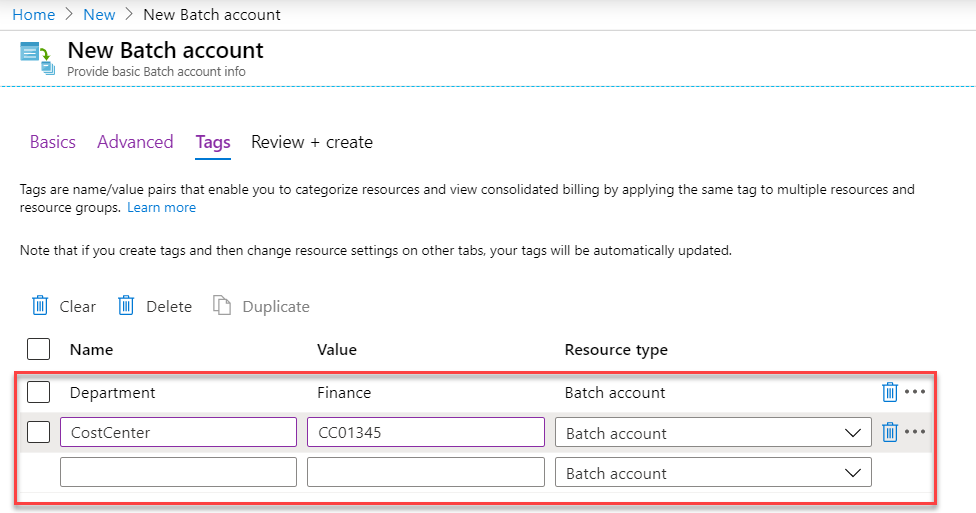
Next, you can apply tags to categorize the resource and get better control over automation, reporting, and billing, etc.
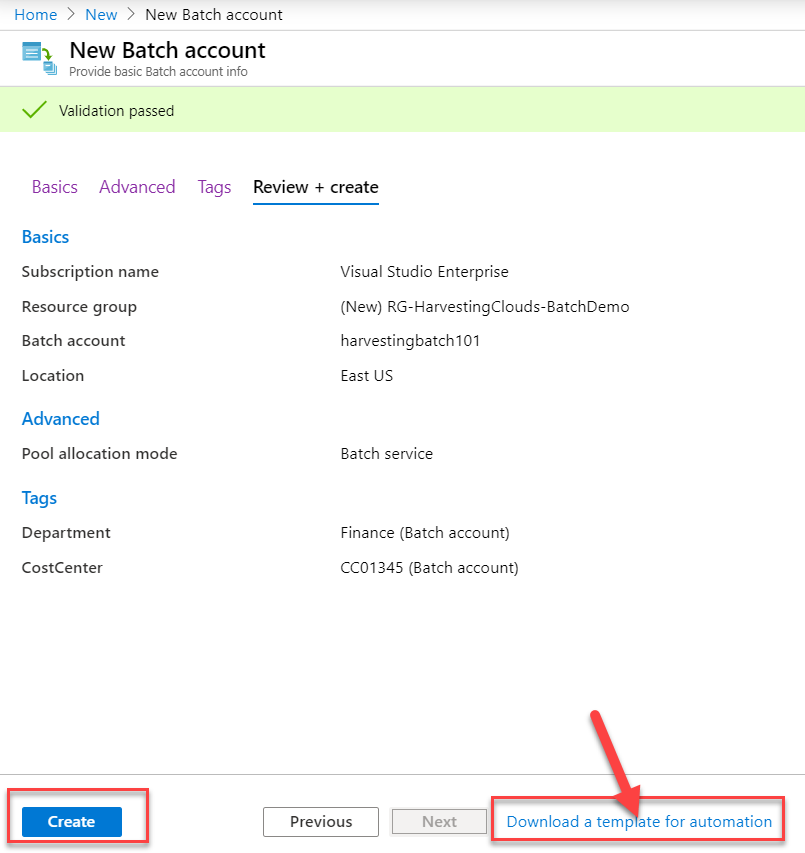
Finally, you review the setting and create the Batch account. Note that you have the option to download the template here so that you can automate the deployment next time you need to deploy this or deploy it uniformly across different environments.
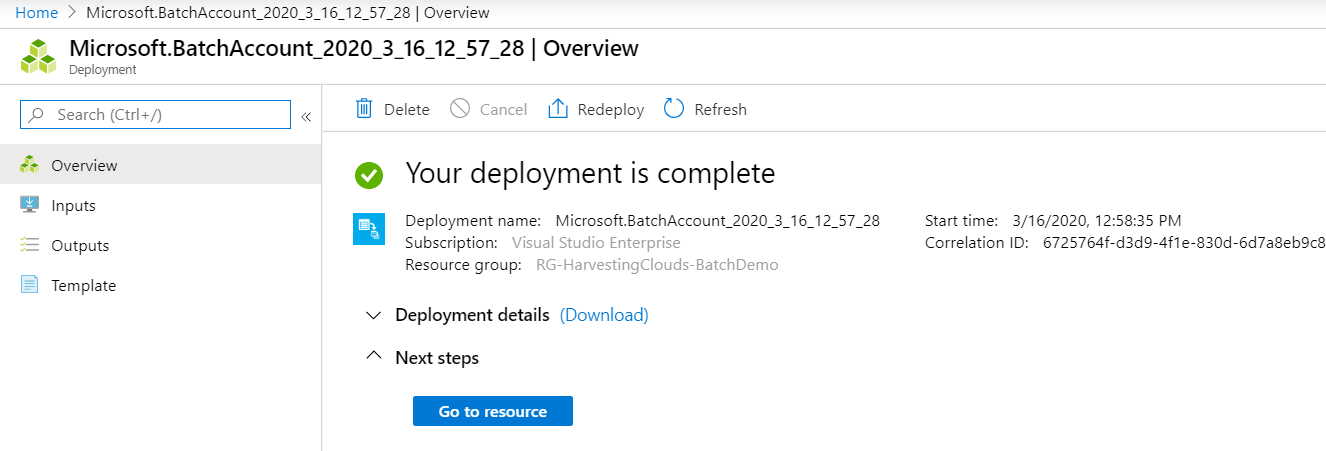
Azure immediately shows you the status of your deployment. This screen refreshes automatically and will update to show when the deployment is complete.
In the next post, we will look at creating a Pool within the Batch account.
For more information check this link: Azure Batch service