How to create and use the Storage Event Trigger in Azure Data Factory
@20aman Mar 23, 2022In the Azure Data factory, you can create different types of triggers. Those are:
- Schedule,
- Tumbling window,
- Storage events,
- Custom events.
In this post, we will be talking about the Storage events type trigger.
Make sure the subscription is registered with the Event Grid resource provider, otherwise you will get an error while publishing the changes. How to register the event grid resource provider go to the link: Register Azure resource Providers.
How to create a trigger from the portal
Go to the author tab of the Azure Data Factory which is #1 in the screenshot and then select your main pipeline.
Step 1
Click on the ‘Add trigger’ then click on ‘New/edit’ to create the new trigger. From the Type dropdown, select the ‘Storage events’.
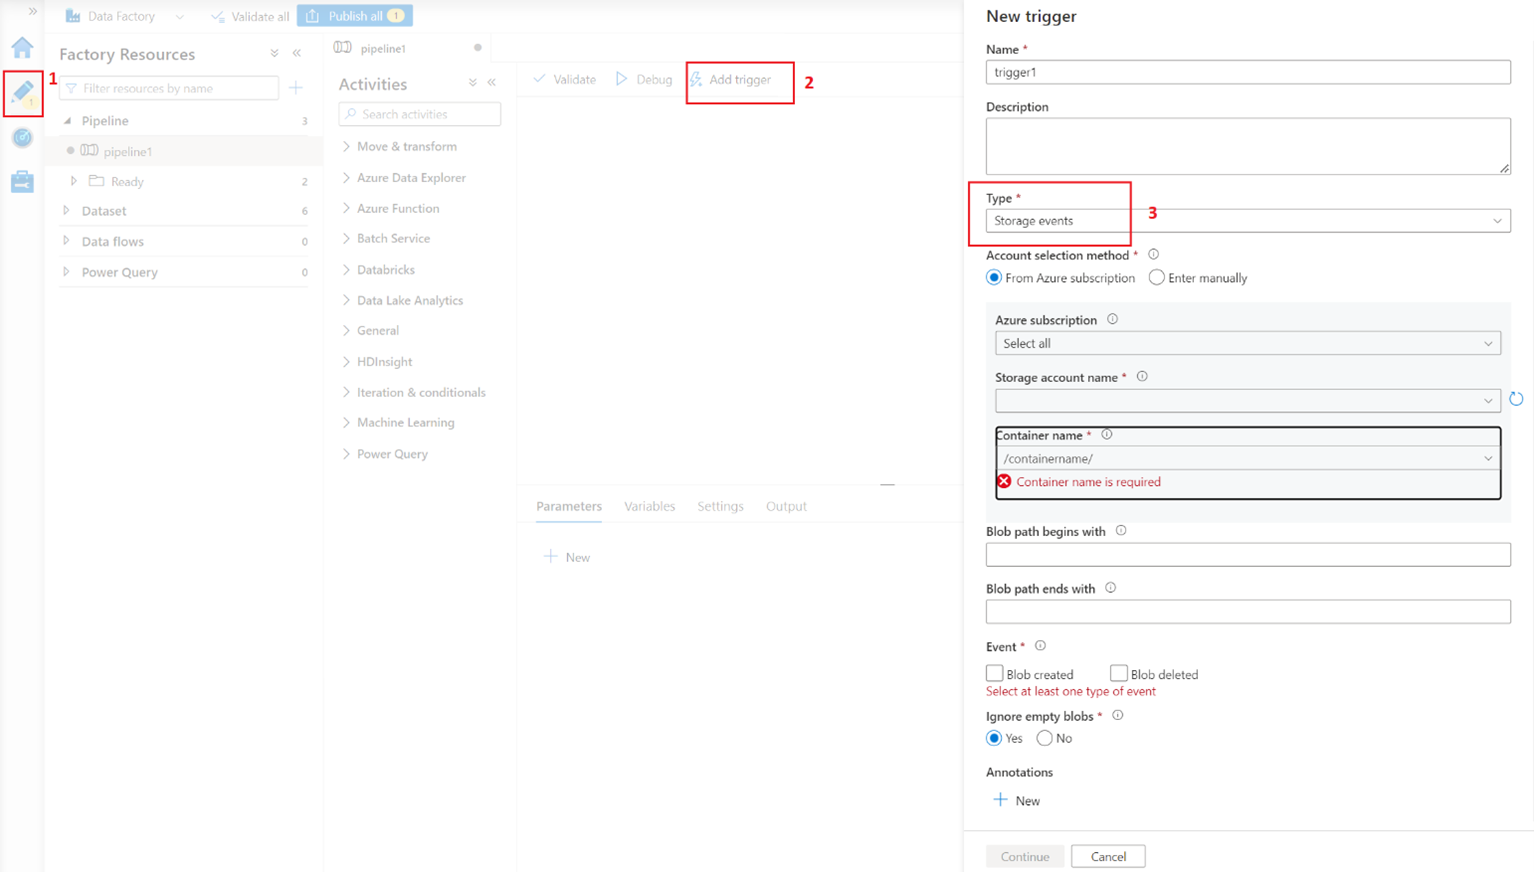
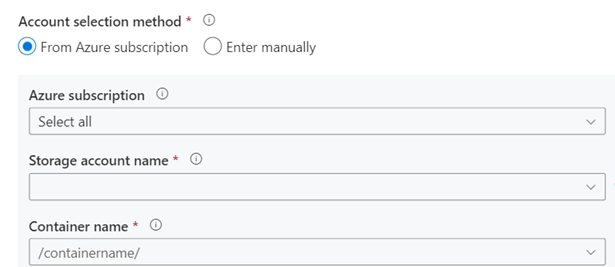
The next step is to select the subscription, storage account, and the container name within that storage account.
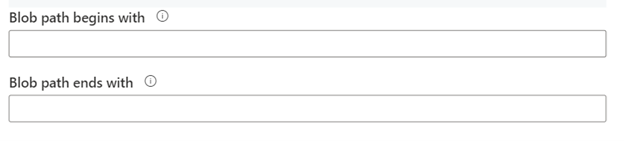
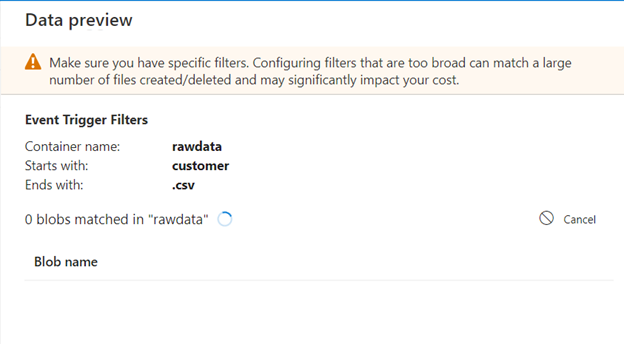
The next input parameters are “Blob path begins with” and “Blob path ends with properties” that allow you to specify the filters for the blob paths for which the events will trigger. One of the below properties needs to be defined for the storage event trigger to work.
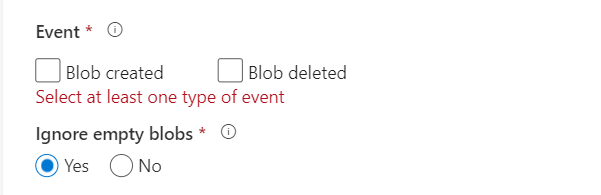
Next, select the event on which you want to create the storage events trigger. You can select both or at least one type of event should be selected. If there are any blobs with 0 bytes then "Ignore empty blobs" will ignore those blobs to have a selection on them.
Click Continue to create the preview of the changes on the trigger. If there would be any blobs in the mentioned container that matches the conditions provided while configuring the trigger then it will show all the blobs that satisfied those conditions. Click continue to finish the preview.
If your pipeline has parameters, you can specify them on the "Trigger runs parameter" blade next. The storage event trigger captures the folder path and file name of the blob into the properties @triggerBody().folderPath and @triggerBody().fileName. To use the values of these properties in a pipeline, you must map the properties to pipeline parameters. After mapping the properties to parameters, you can access the values captured by the trigger through the @pipeline().parameters.parameterName expression throughout the pipeline.

To test the trigger, go to the container for which you have defined the trigger and upload any blob which matches with your ‘Blob path ends with’ filter. Once the upload is done, go to the monitor section of the Azure data factory and you will be able to see the trigger and pipeline run logs under the Trigger runs and Pipeline runs.
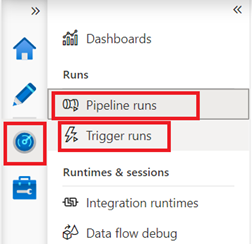
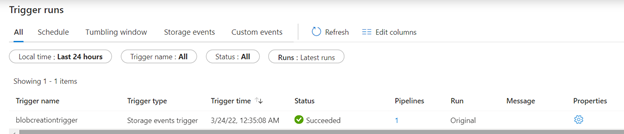
Below you can view the Trigger runs section:
Below you can view the Pipeline runs section:

As you can see the storage events trigger is very easy to set up in Azure Data Factory and provide a very powerful tool in your arsenal to automate various complex scenarios.