Azure for AWS professionals - Networking - Azure - 01 Creating Virtual Network
@20aman Oct 10, 2019Note that this post is a part of the series. You can view all posts in this series here: Azure for AWS professionals - Index
Microsoft Azure's virtual network capabilities as part of the Infrastructure as a Service (IaaS) offering is called Virtual Network or unofficially known as vNet. It provides connectivity between various virtual machines (or VMs) in that network. It can also extend the connectivity to other networks. You can also extend the virtual networks to your on-premises networks.
In this post, we will be creating a new Virtual Network. To start creating the virtual networks, click on the 3 lines on the top left and then click on the "+New" button. Here click on the Virtual Network option under the Networking category.

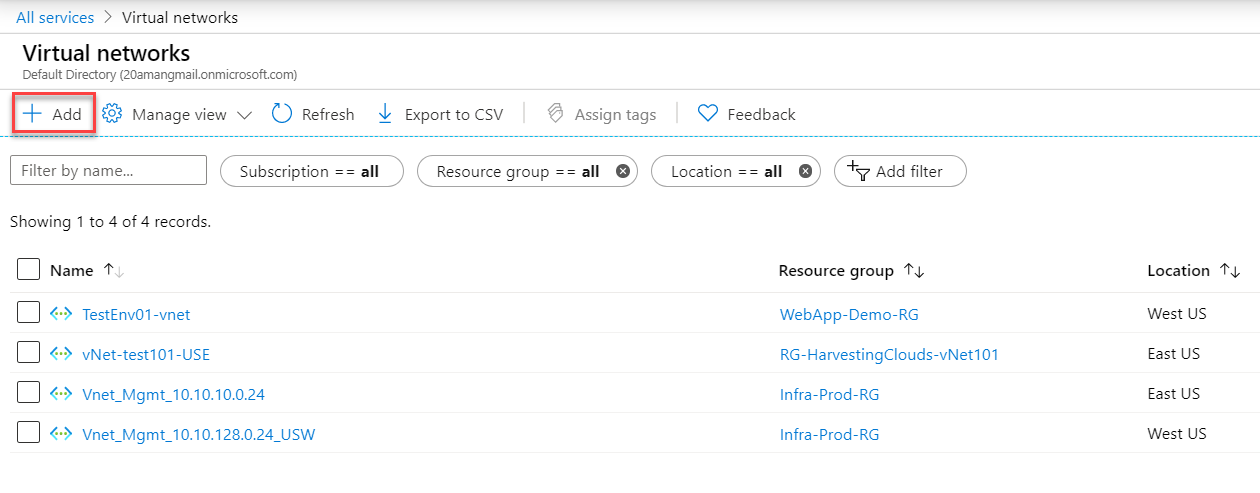
Alternatively, you can navigate to all services and then go to the Networking category. Find the option for Virtual network (the very first option) and click on this. All your vNets will be listed here (as shown below). You can click on the "+Add" button to create a new virtual network.
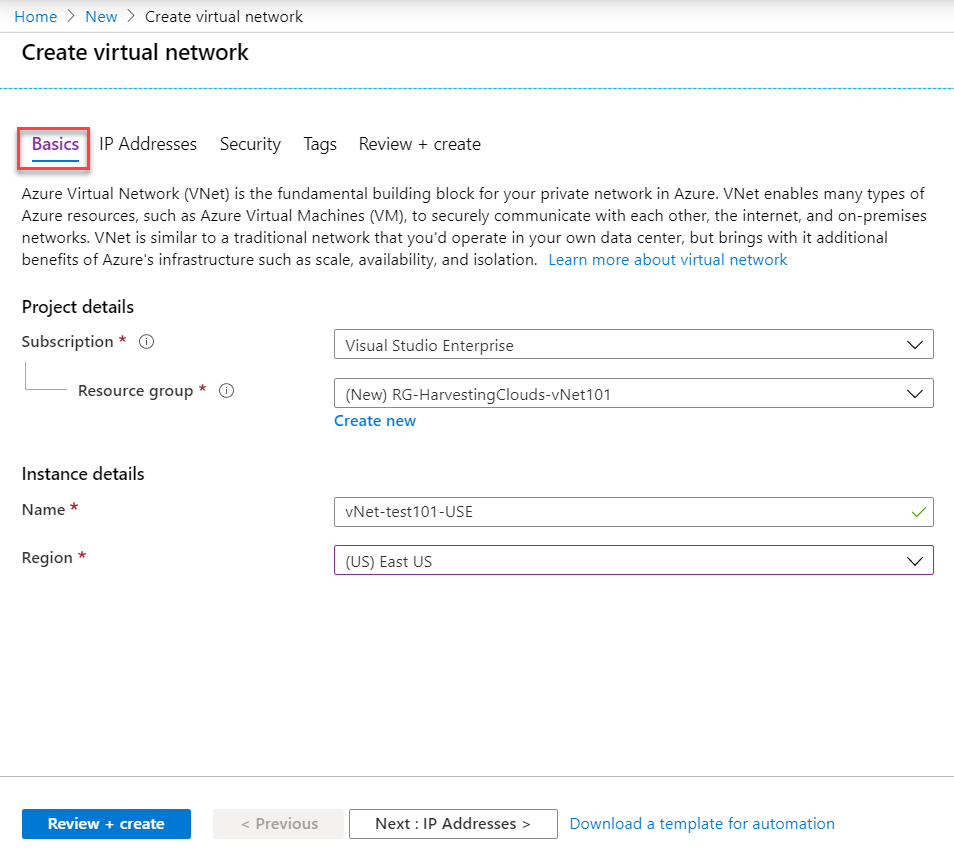
To start with, provide the subscription and the Resource Group details. Provide a name for the virtual network and also the region where you want this to be deployed.
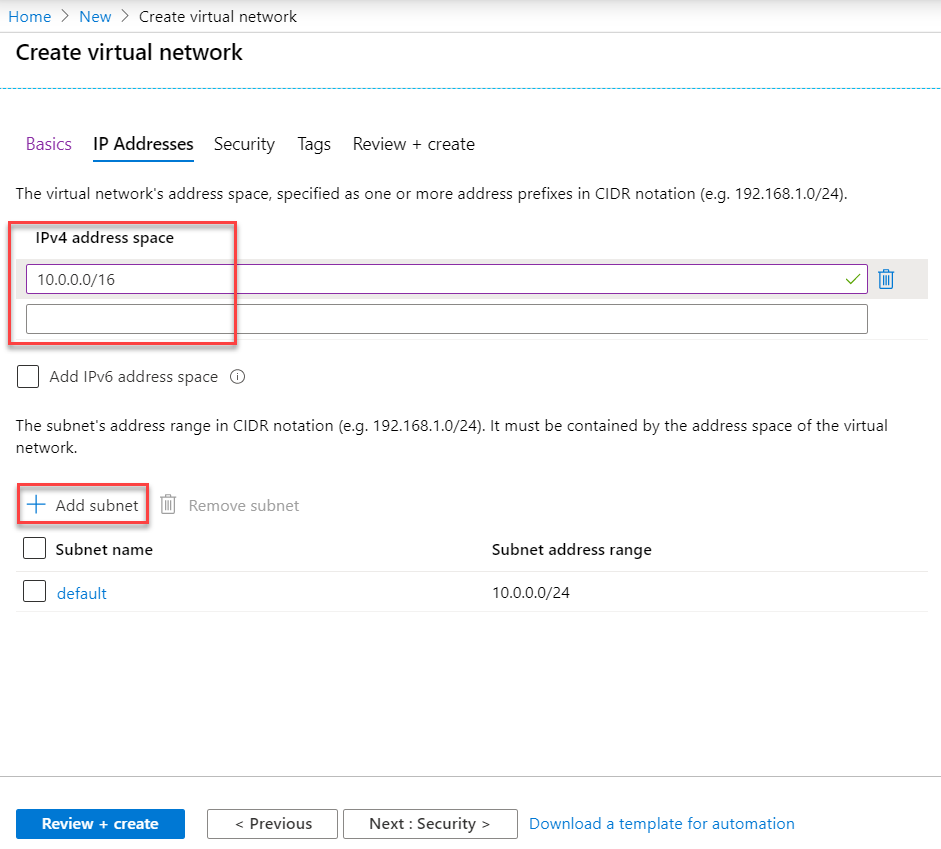
The second screen is the most important in the wizard. This is where you define the address spaces for your vNet in CIDR notation. You also define your subnets here. Every virtual network should have at least one subnet.
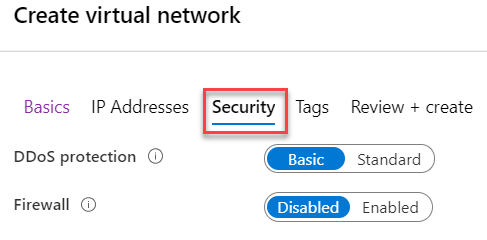
In the next screen for security, you can enable the DDoS protection (i.e. protection from the DDoS attacks on your network) and Firewall (i.e. Azure Firewall).
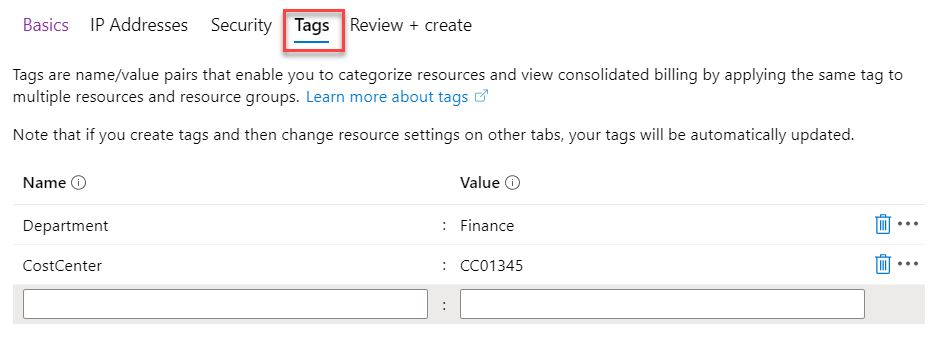
Next, provide the tags to categorize your network resource.
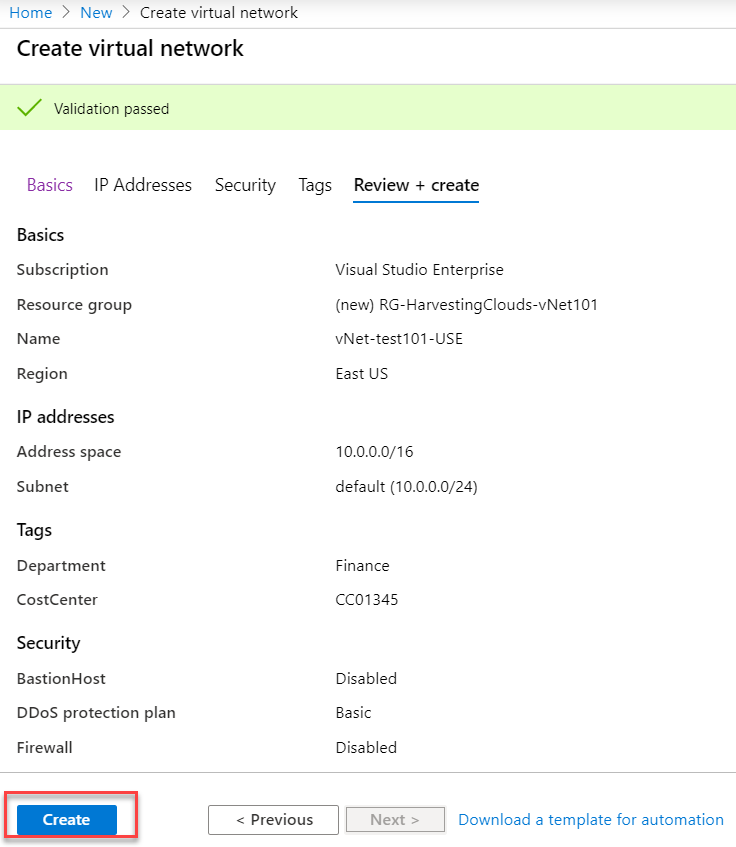
Finally, review all the settings and create the virtual network.
Now that the virtual network is created for us, in the next few posts, we will start working with this and perform more tweaks and configurations.