Azure for AWS professionals - Networking - Azure - 02 Working with Virtual Networks (vNets) and Subnets
@20aman Oct 12, 2019Note that this post is a part of the series. You can view all posts in this series here: Azure for AWS professionals - Index
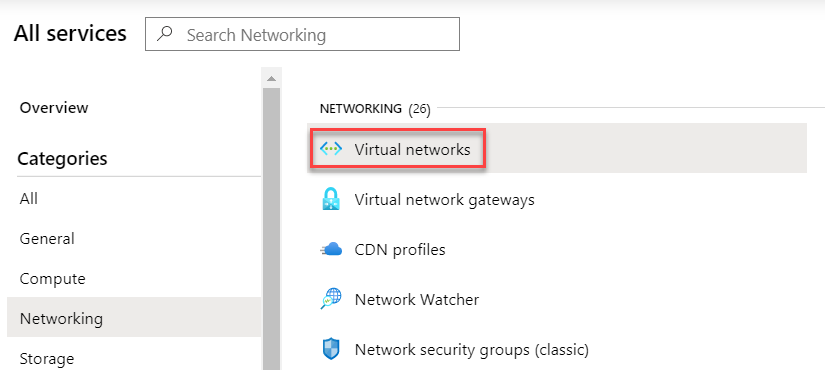
In this post, we will start working with the Virtual Networks (or vNets) and Subnets. To start, navigate to all services and then go to the Networking category. Find the option for Virtual network (the very first option) and click on this. All your vNets will be listed here. Find the one on which you want to work and click on the same.
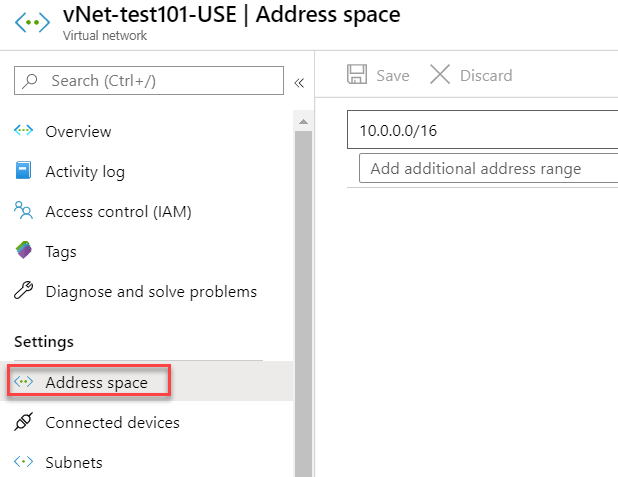
Under the Settings category, you will find the option for "Address space". This is where you can view the complete address space for your virtual network. Also, this is where you can expand your virtual network by adding more address spaces.
Next up, you have:
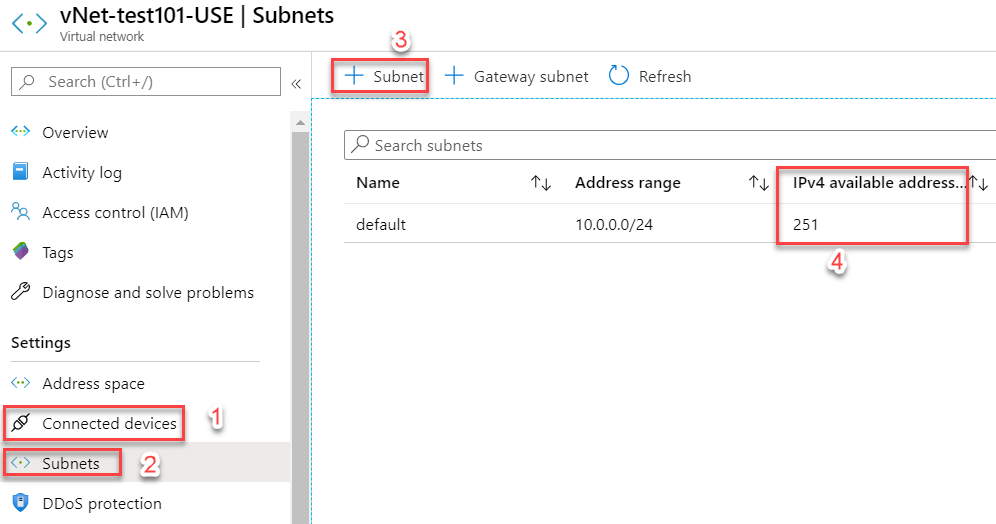
- Connected Devices - These are all the network interfaces (i.e. NIC cards on the virtual machines or VMs) that are connected to this virtual network. You can also filter through the data by name or even IP address.
- Subnets - All the subnets on the virtual network are listed here.
- Adding Subnets - You can add more subnets to the vNet by clicking on the "+ Subnet" button. E.g. you can have a subnet hosting an internet-facing application. And then you can have another subnet, hosting a database, that will only be accessible from the application.
- IPv4 available addresses - These are the number of IP addresses available in a subnet. This gives you an indicator of how many devices can connect to a subnet and when your subnet is about to fill up.
There is much more that can be done on a virtual network and we will keep on exploring the key areas that will be most useful to you.