Azure SQL Basics - Creating Azure SQL Databases
@20aman Oct 21, 2019Note that this post is a part of the series. You can view all posts in this series here: Azure SQL and Data Factory Basics - Index
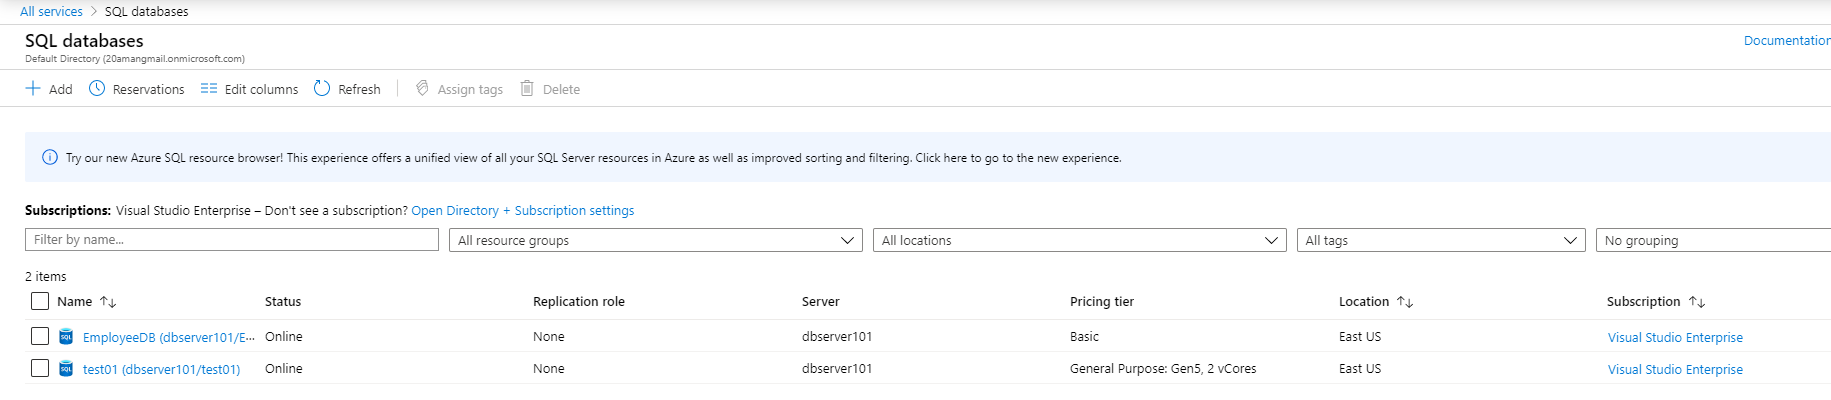
In my previous blog, I showed you how to search for Azure SQL databases. In this post we will see how to create the databases. To create the Azure SQL database, you need to know the subscription under you want to create the Azure SQL database.
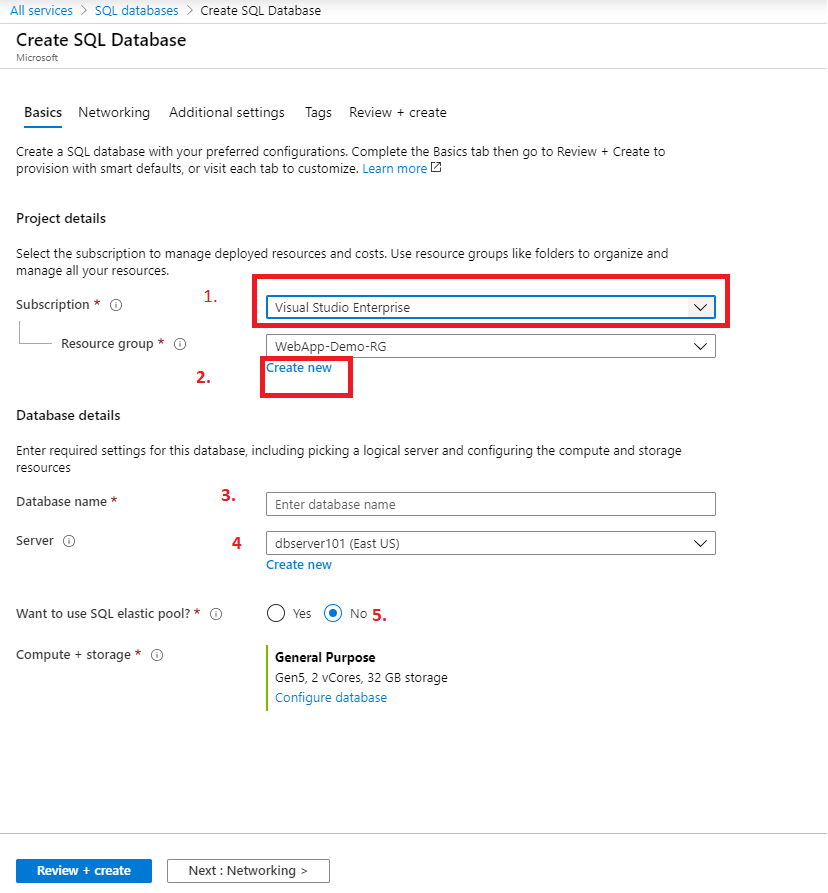
Below is the first screen to start with the creation of the SQL database. Here you do the following:
- Select the Subscription under which you want to create the SQL database.
- You can select the Resource group from the dropdown of already created resource groups or you can create a new one as highlighted below. The next section defines the properties of the new SQL database.
- Give the appropriate name of the SQL database
- Select the already existing server under which you want to create the SQL database or you can create the new server.
- Select ‘No’ under the SQL Elastic pool option. Select ‘Yes’ if you want your resources to be shared between multiple databases.
- The next one is compute and storage, Azure automatically selected the basic one for me. In case you want more powerful resources, you can change this configuration by clicking on the Configure database link.
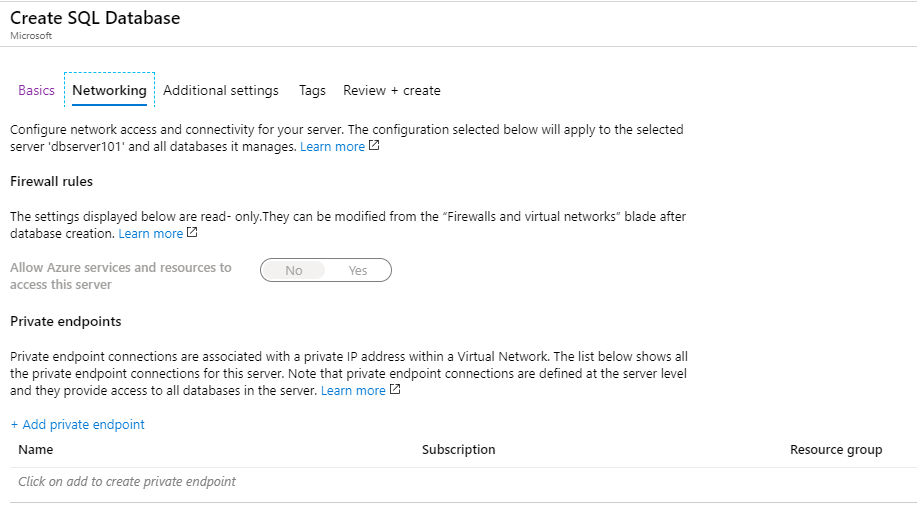
The next screen is for Networking. Leave be the default setting as shown in the below screenshot.
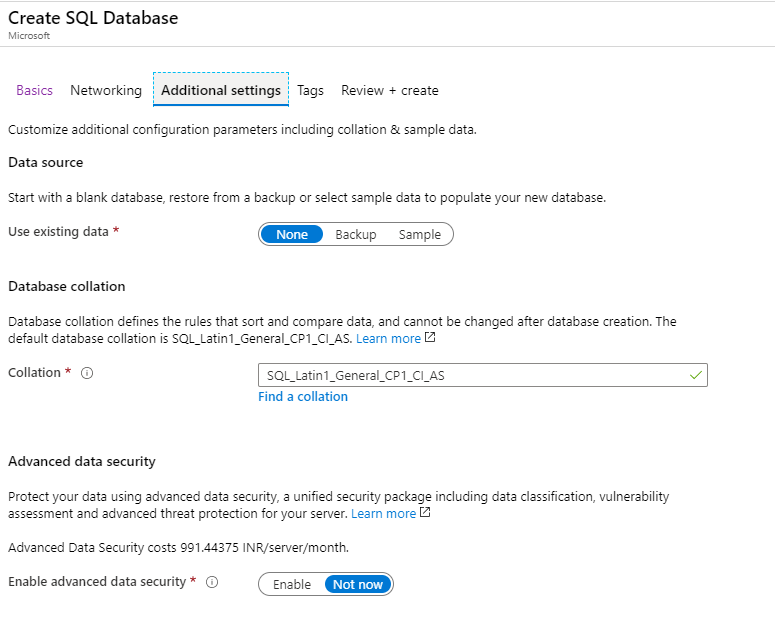
Next Screen is Additional settings. This screen is used to set the Collation of the SQL database, data source, and advanced data security. Data source by default is None. If you want to import the backup file of some existing database then select the Backup. If you select the ‘Sample’ option then AdventureWorksLT will be created as the sample database.
Database Collation keeps the default one until unless you have another collation to select based upon different regions.
Advanced Data Security: Azure charges extra if you select this option. For the time being, I am selecting as ‘Not now’. We will revisit this setting in detail in a later blog post.
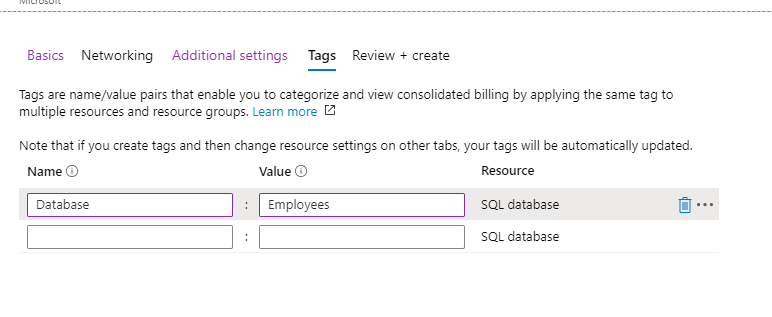
The next screen is about Tags. Tags are used to categorize your resources. These can later be used in billing and automation etc.
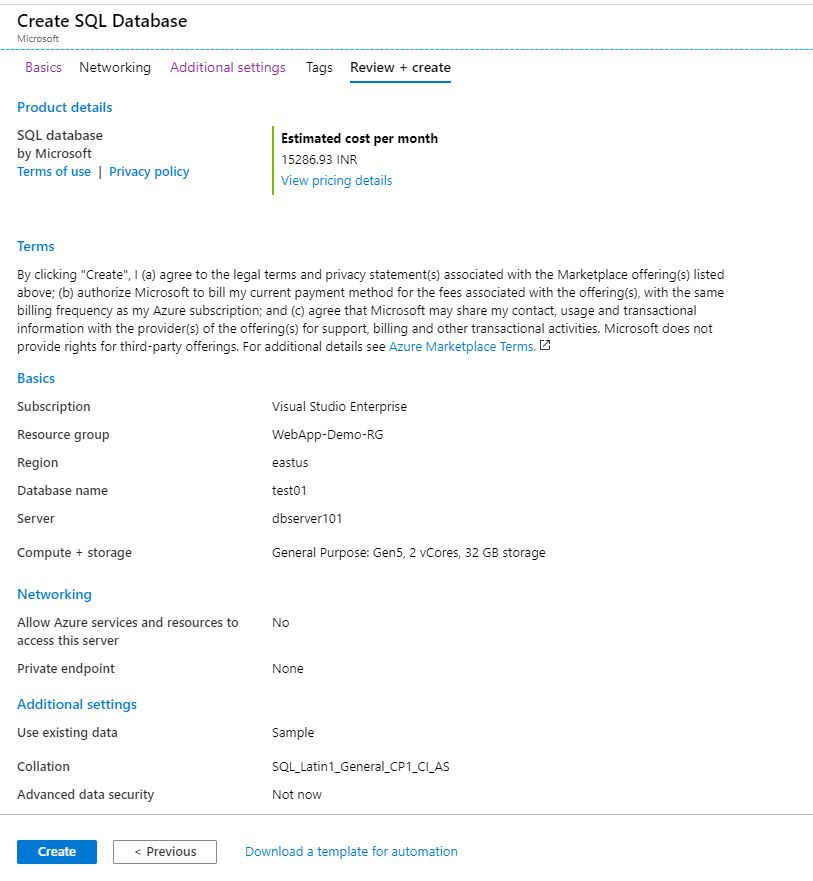
The final screen is ‘Review + Create’. You can review all the options selected in previous screens and it will provide you the estimated cost per month based upon your selection. If you are ok with it then click on the Create button at the bottom of the screen.
You can see the progress at the top right-hand side.
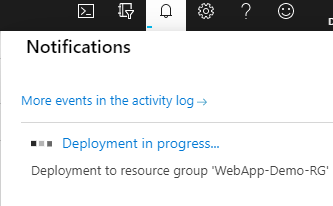
Once the deployment is done, You can see the newly created databases under All services -> SQL databases.