Step by Step ARM Templates - Deploying a Windows VM with OMS integration
@20aman Oct 16, 2016Index of all blogs in this Step by Step ARM Templates series is located here: Step by Step Azure Resource Manager (ARM) Templates - Index
You can deploy a Windows VM with OMS integration. You can have the OMS extension installed. And then you can onboard the VM to a specified workspace.
Prerequisites
You need already have an OMS workspace setup in your subscription. You need to have the following information about this OMS Workspace:
- OMS workspace ID
- OMS workspace Key
You may obtain the workspace ID and key by going to the Connected Sources tab in the Settings page in the OMS Portal or to the Direct Agent blade in the Azure portal.
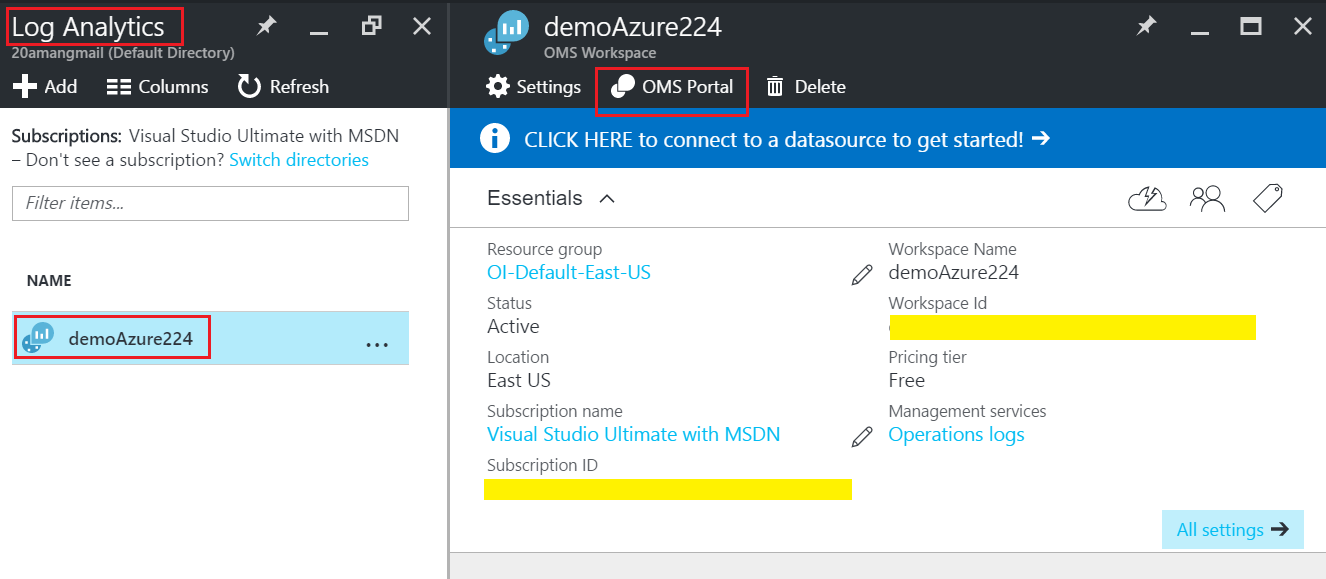
In the Azure Portal go to the Log Analytics -> Click on the OMS Workspace you want to use. Click on the "OMS Portal" to navigate to the OMS Portal.
In the OMS portal, navigate to the Settings.
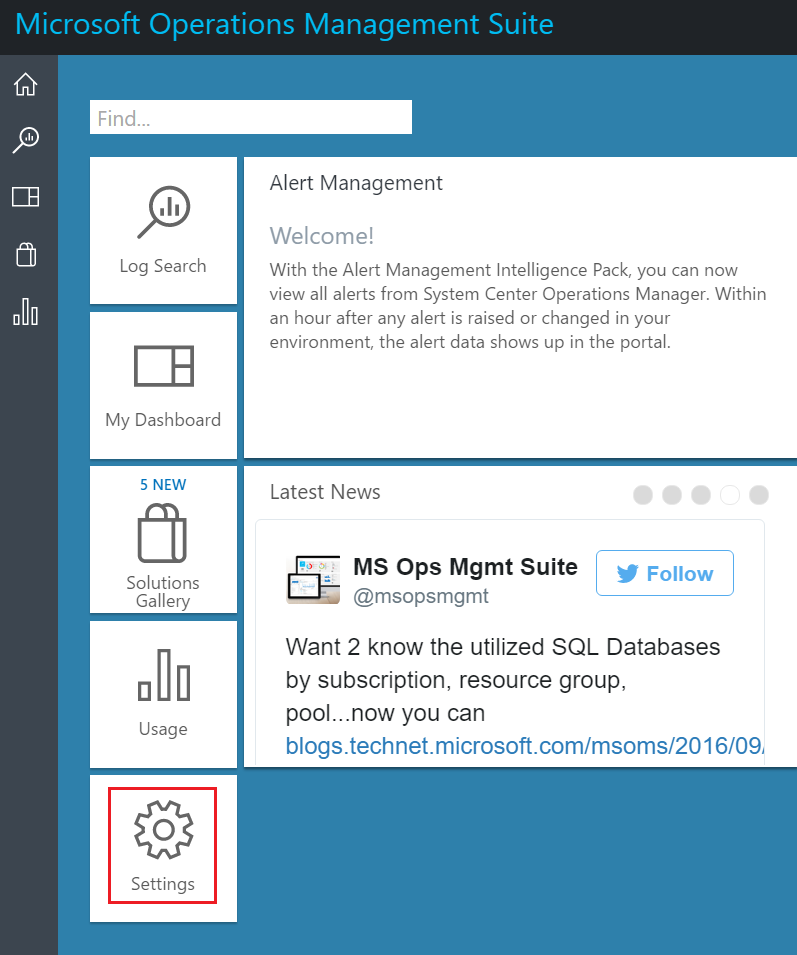
In Settings, go to the Connected Sources -> Windows Servers. Note the Workspace ID and the Primary Key as shown below:

ARM Template Sections for OMS integration
Within the VM resource, you need to define the OMS extension as shown below:
  "resources": [
    {
      "type": "extensions",
      "name": "Microsoft.EnterpriseCloud.Monitoring",
      "apiVersion": "[variables('apiVersion')]",
      "location": "[resourceGroup().location]",
      "dependsOn": [
        "[concat('Microsoft.Compute/virtualMachines/', variables('vmName'))]"
      ],
      "properties": {
        "publisher": "Microsoft.EnterpriseCloud.Monitoring",
        "type": "MicrosoftMonitoringAgent",
        "typeHandlerVersion": "1.0",
        "autoUpgradeMinorVersion": true,
        "settings": {
          "workspaceId": "Your Workspace ID Here"
        },
        "protectedSettings": {
          "workspaceKey": "Your Workspace Key Here"
        }
      }
    }
  ]
The above configures the OMS on the VM. Note that you need the nested extension resource of type "Microsoft.EnterpriseCloud.Monitoring".
Also, note the Workspace Id and Key in the template section above. Enter the values as per your environment which we found in the Prerequisites section above.
Providing the Workspace ID and Workspace Key Dynamically
You can also provide the Workspace Id and the Workspace Key dynamically by only using the OMS Workspace name. Follow the below sample. Note the use of reference, listKeys, and resourceId helper functions.
"settings": {
          "workspaceId": "[reference(resourceId('Microsoft.OperationalInsights/workspaces/', parameters('workspaceName')), '2015-03-20').customerId]"
        },
        "protectedSettings": {
          "workspaceKey": "[listKeys(resourceId('Microsoft.OperationalInsights/workspaces/', parameters('workspaceName')), '2015-03-20').primarySharedKey]"
        }
Reference: You can check the complete quick starter template for OMS integration here: GitHub Sample - Deployment of a Windows VM with OMS Extension