Azure for AWS professionals - Auto Scaling - Azure - 01 Creating VMSS - Part 1
@20aman Jul 11, 2019Note that this post is a part of the series. You can view all posts in this series here: Azure for AWS professionals - Index
Microsoft Azure Virtual Machine Scale Sets or VMSS lets you deploy your workload into identical Virtual machines. These VMs are load-balanced internally and the load is also managed automatically for you. You can define various autoscaling schedules to scale your resources up and down based on the demand. E.g. if Average CPU percentage increases beyond a number then you can automate to increase the number of running instances i.e. scale up. Similarly, you can configure to reduce the instances i.e. scale down if the average CPU percentage goes down a certain number. This auto-scaling is provided out of the box with VMSS.
Let's start working with VMSS by creating one.
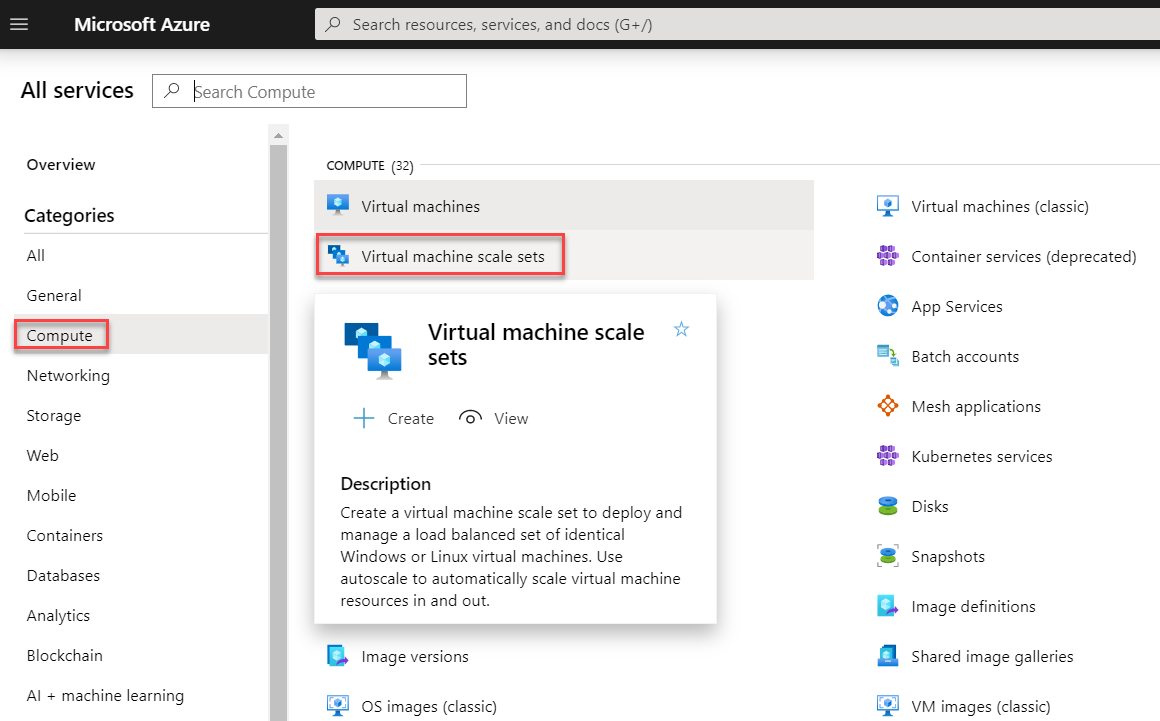
You will find VMSS under the Compute category.
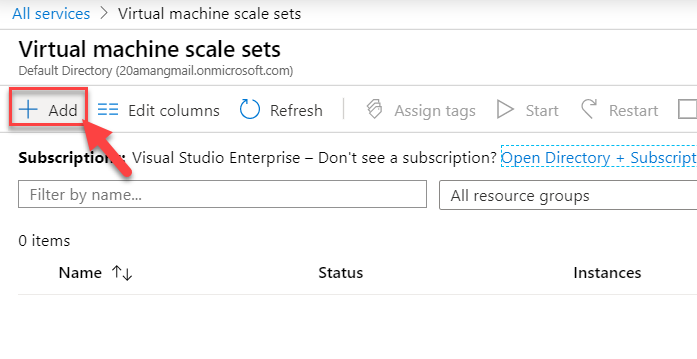
When in the blade for VMSS, click on the "+Add" button
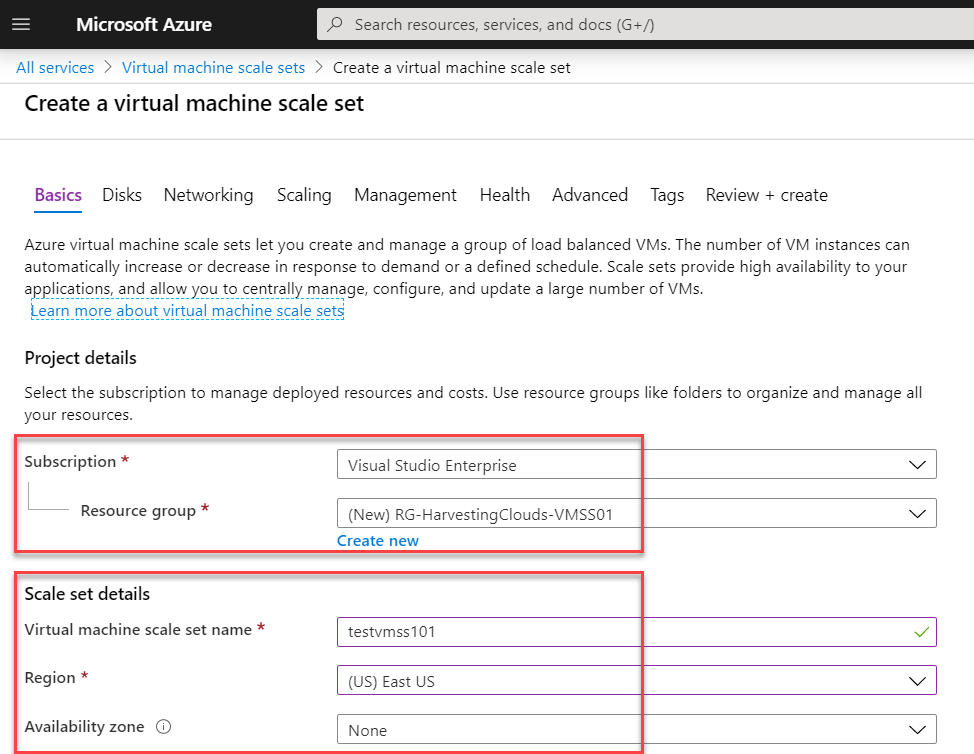
Provide the subscription and Resource Group just like for any other resource creation in Azure. Provide a name for the VMSS, a region where it will be deployed and Availability set if you want any.
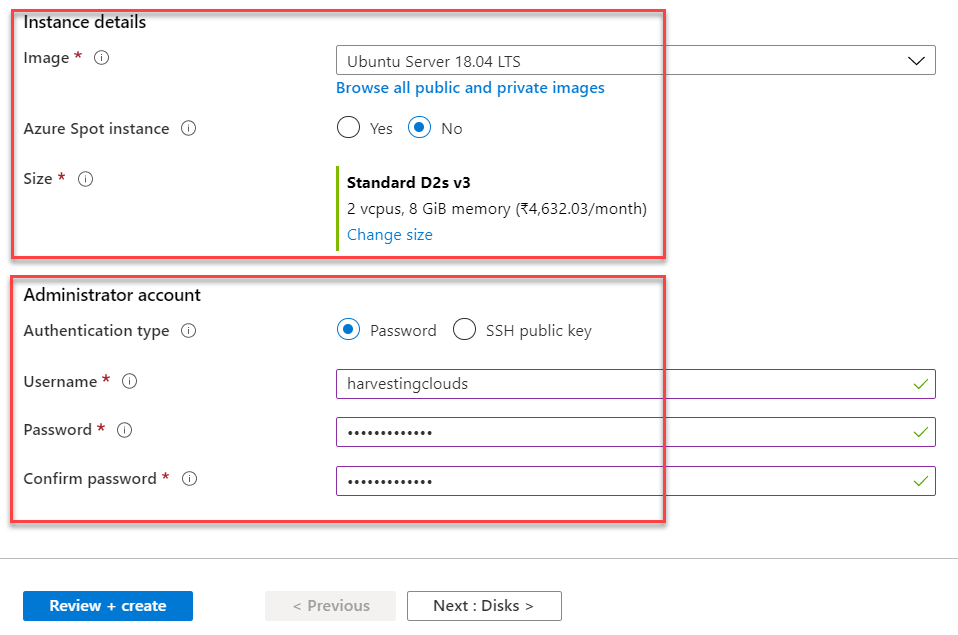
Next, you provide the Instance details. This is very important. This is the underlying Image and it's compute size. This is the consumption that you will be having in your VMSS based on the number of instances running.
You also provide authentication information for connectivity.
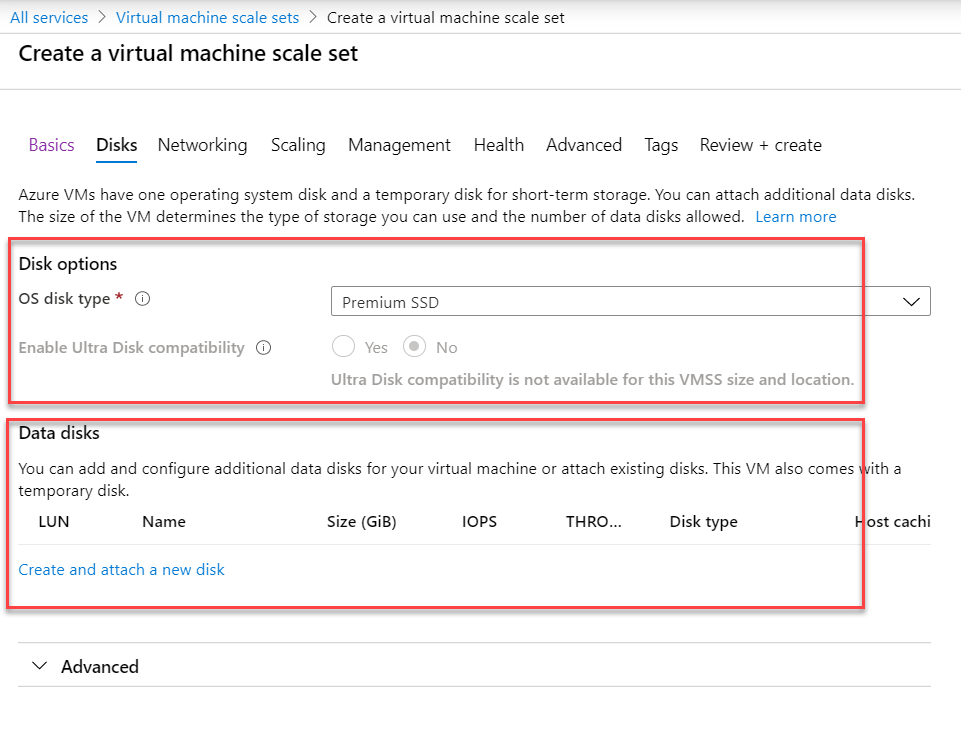
Next, we need to provide the disk details (just like for a single VM). Here you can decide the type of disk to use for OS disk. You can also create and attach data disks here.
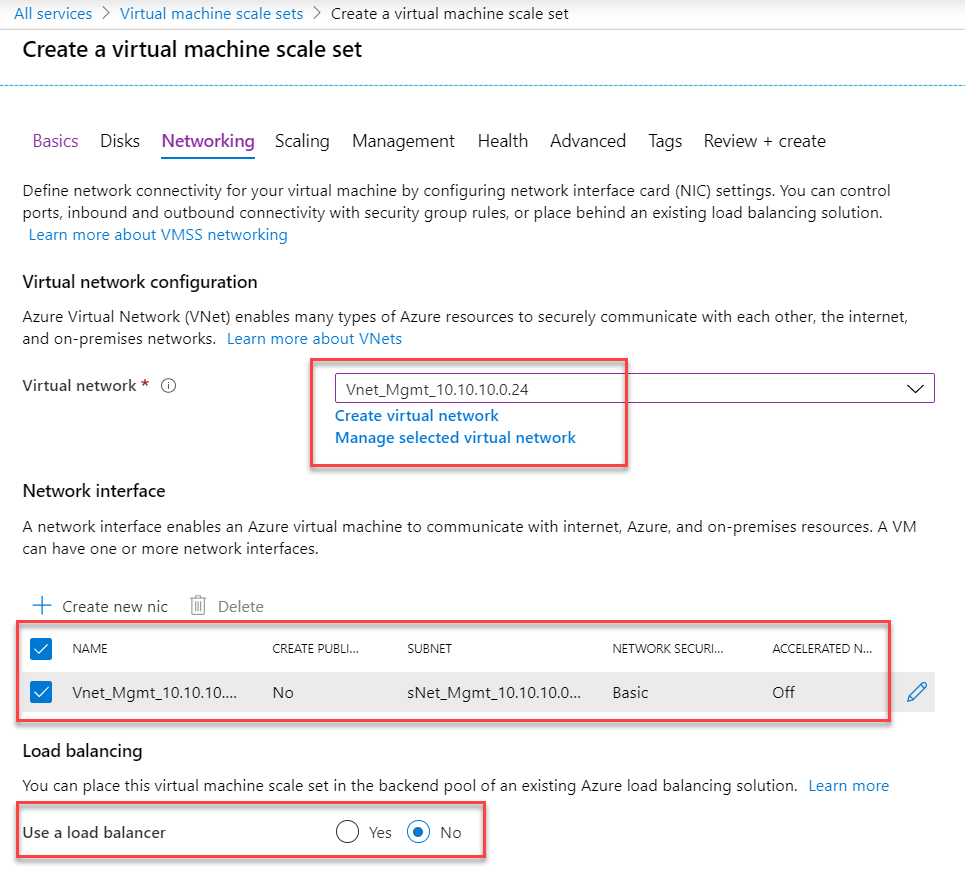
Next up we have networking details. You provide information regarding which virtual network the underlying VMs will be connected to in this VMSS. You also provide the Network Interface that VMSS will be using for connectivity.
In part 2 we will continue with the wizard and setting up of VMSS.