Azure SQL - Sync to other databases - 4 - Configure sync group
@20aman Dec 03, 2020In our last post, we discussed how to add sync members. After the new sync group members are created and deployed, Configure sync group is highlighted in the New sync group page.
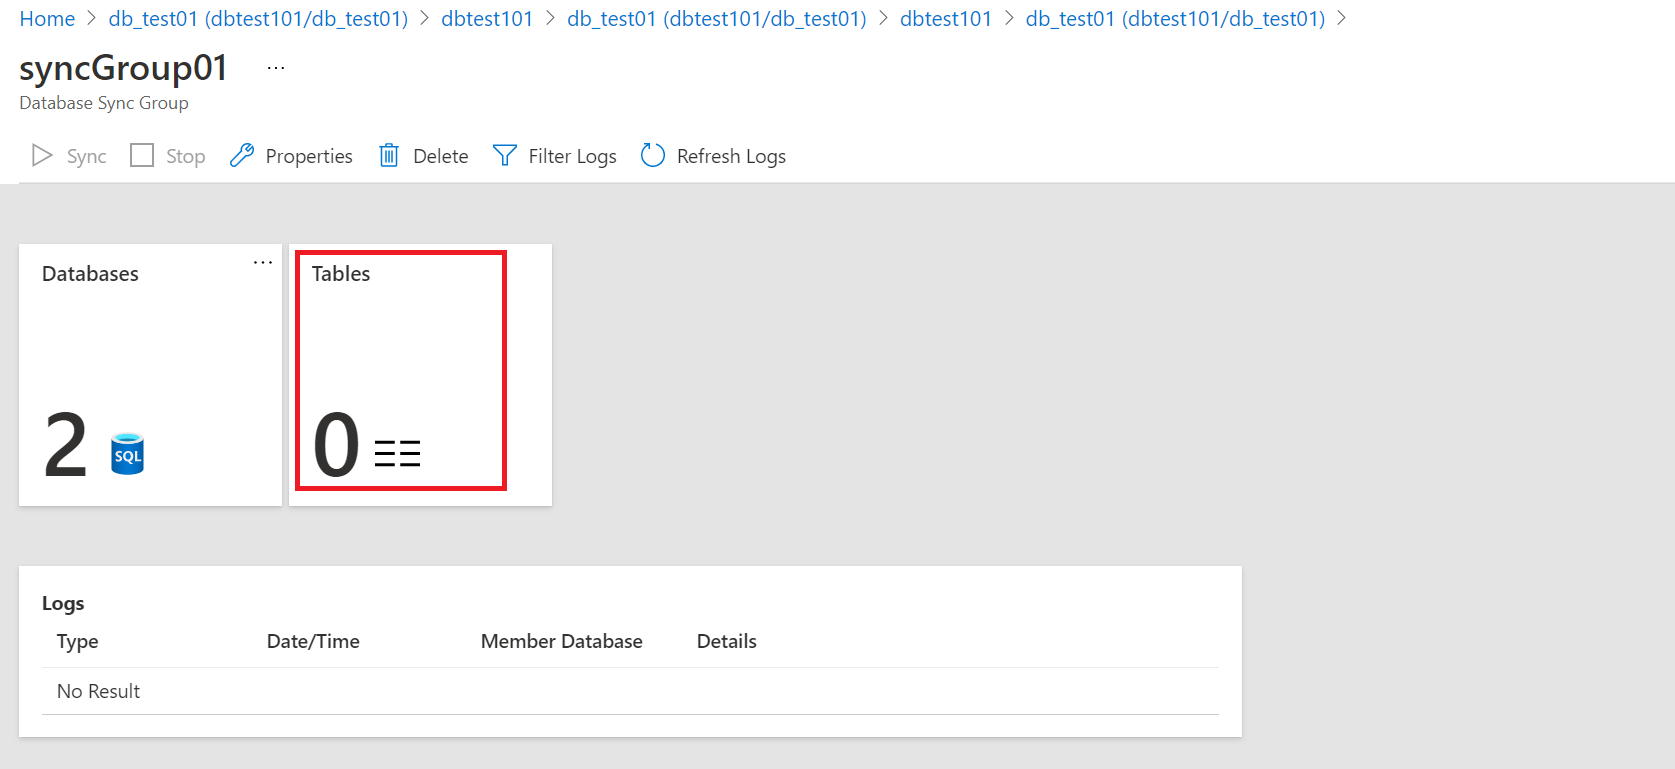
To begin navigate to the Azure SQL database and click on the "Sync to other databases" section. Click on the Tables section as highlighted below.

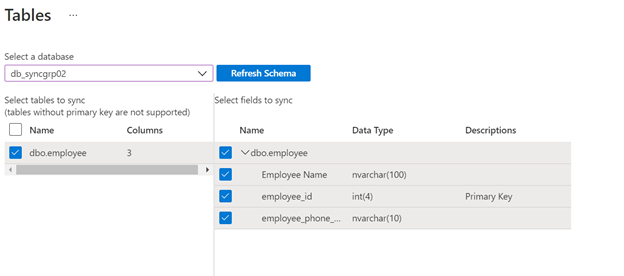
Click on the ellipse in the tables section. It will open up the blade and select the database to which we want to sync and refresh the schema.

As shown below, select the database and select the tables to sync along with columns selection, and click save.

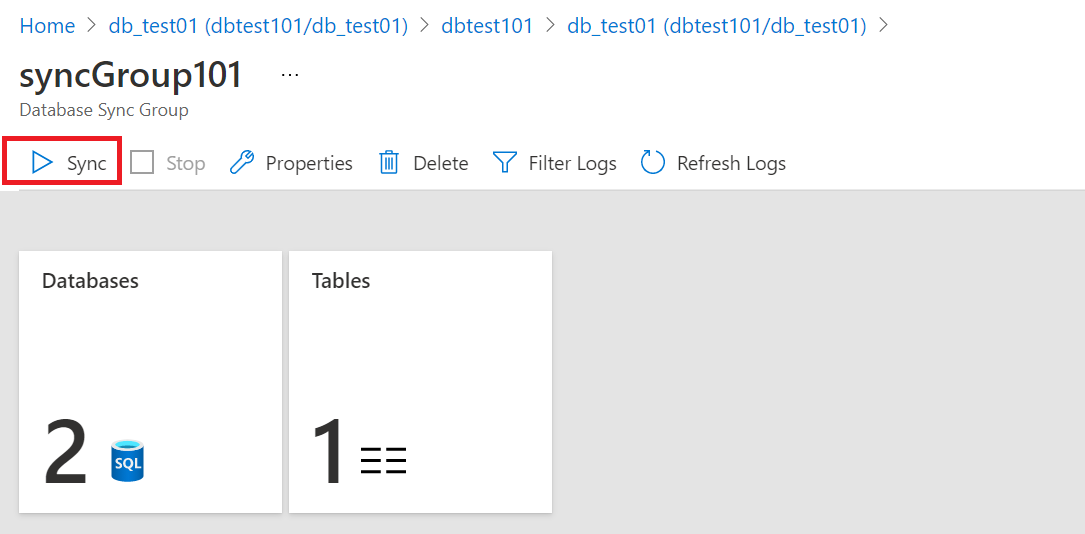
To trigger the sync process navigate to the Database sync group page and click on sync as shown below. This will ensure that the databases are synced as per the direction you have specified.

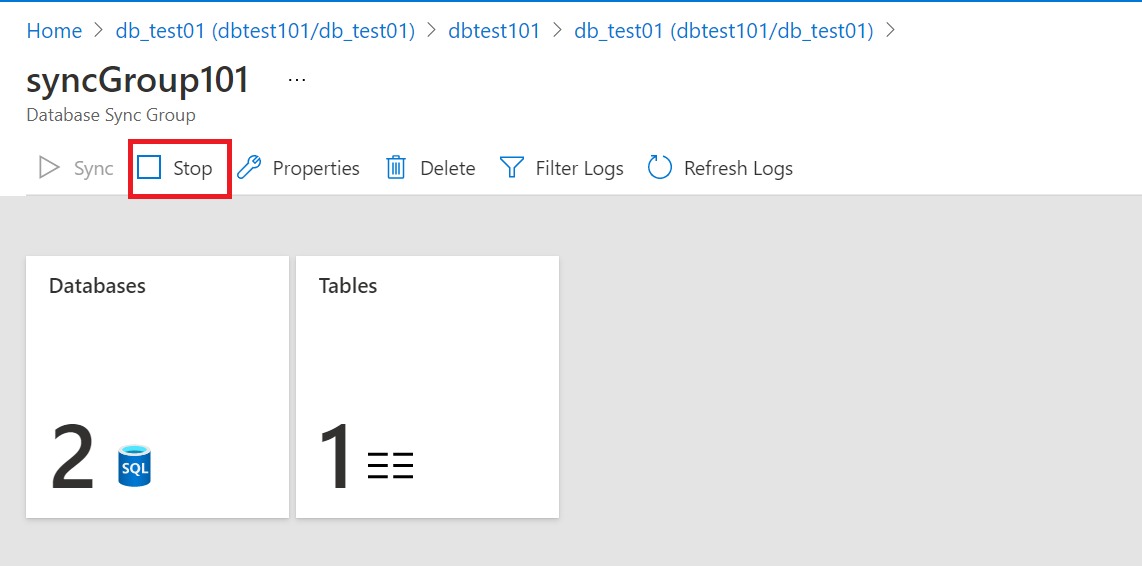
To stop the syncing process, click on the Stop button as shown below.

After a successful syncing, you will be able to see the synced tables and related schema in the db_test01 database from the db_test02 database.
To read more about the sync groups, check the official documentation here: Set up SQL Data Sync between databases in Azure SQL Database and SQL Server